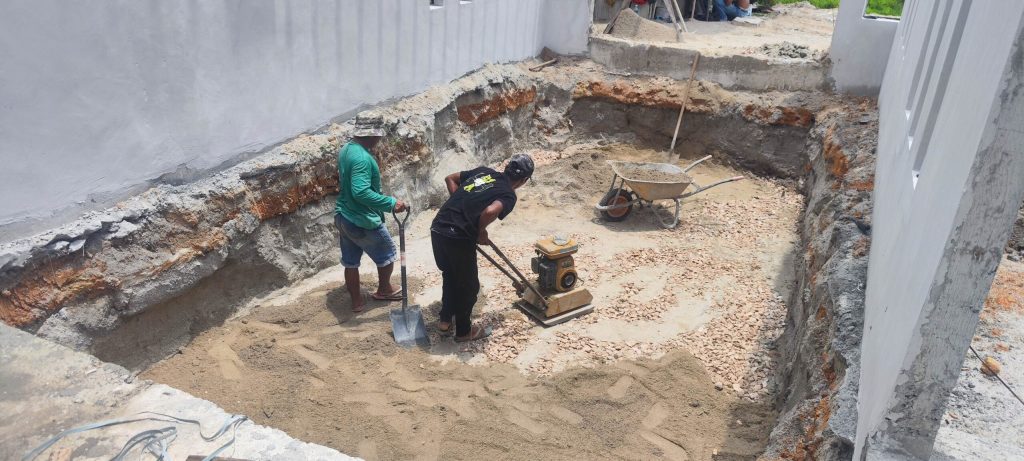
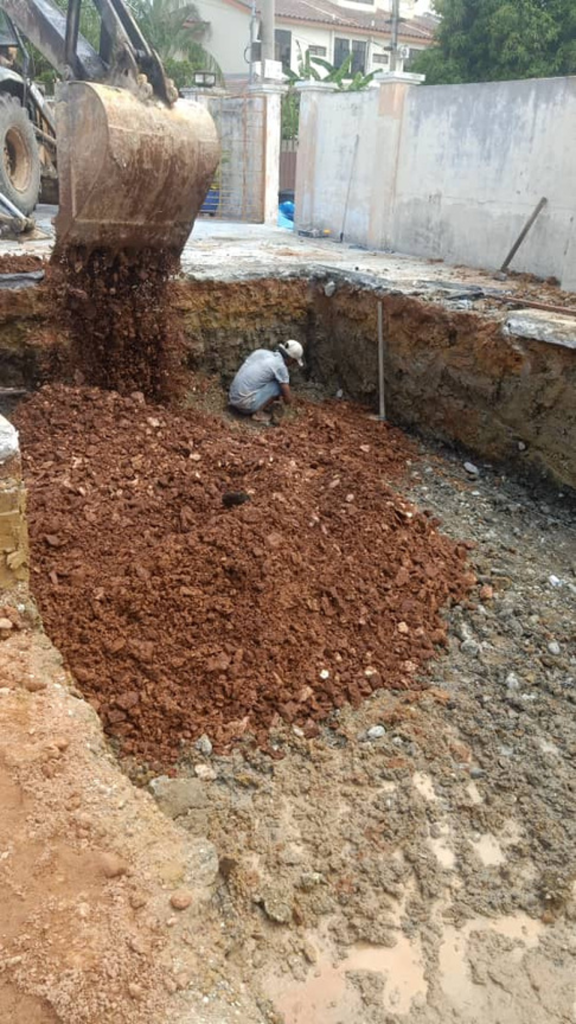
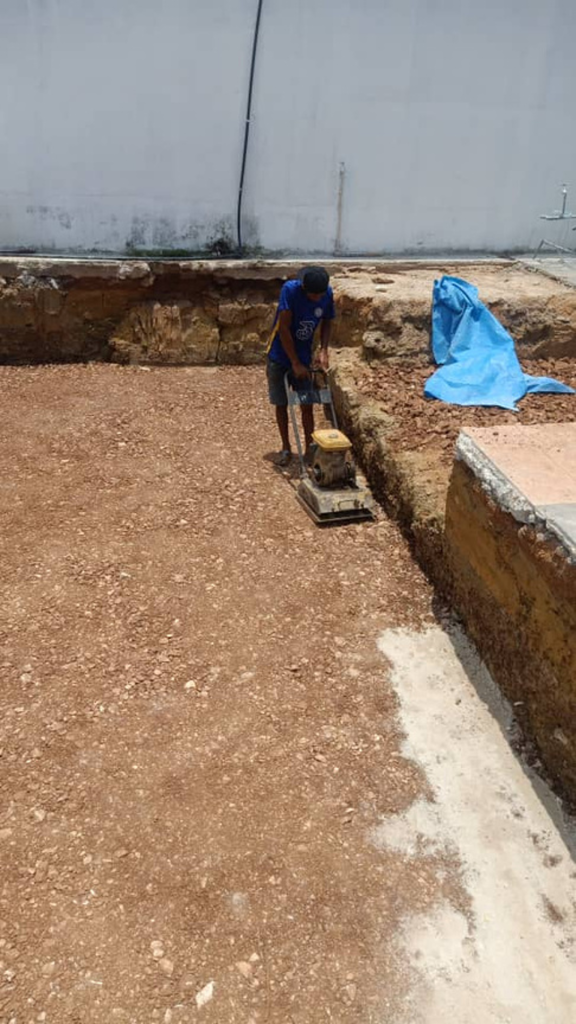
Fiberglass pool installation starts with excavation and base preparation. The site is carefully marked and excavated to fit the pool shell’s exact dimensions. A stable sand or gravel base is then leveled and compacted to ensure proper alignment, prevent shifting, and support a smooth installation.
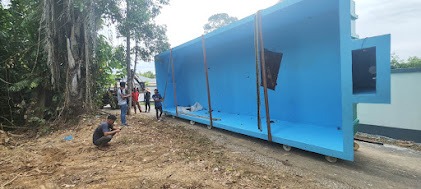
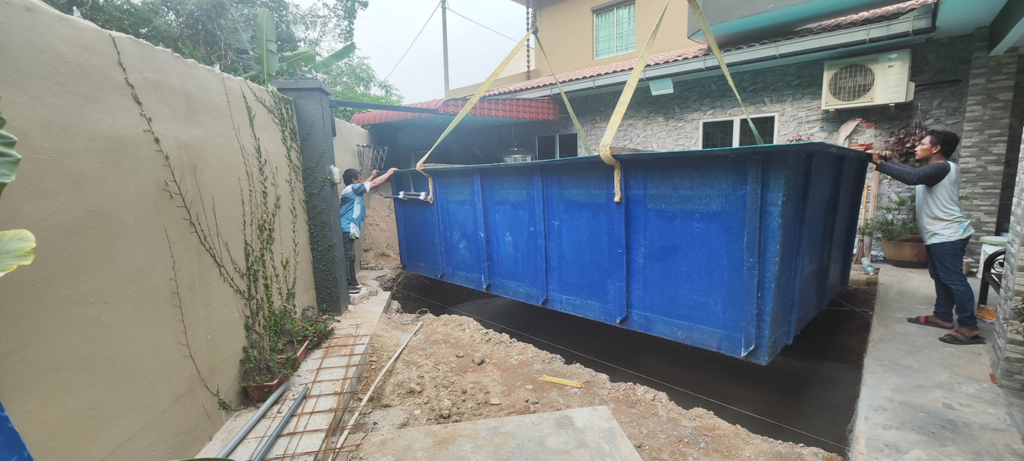
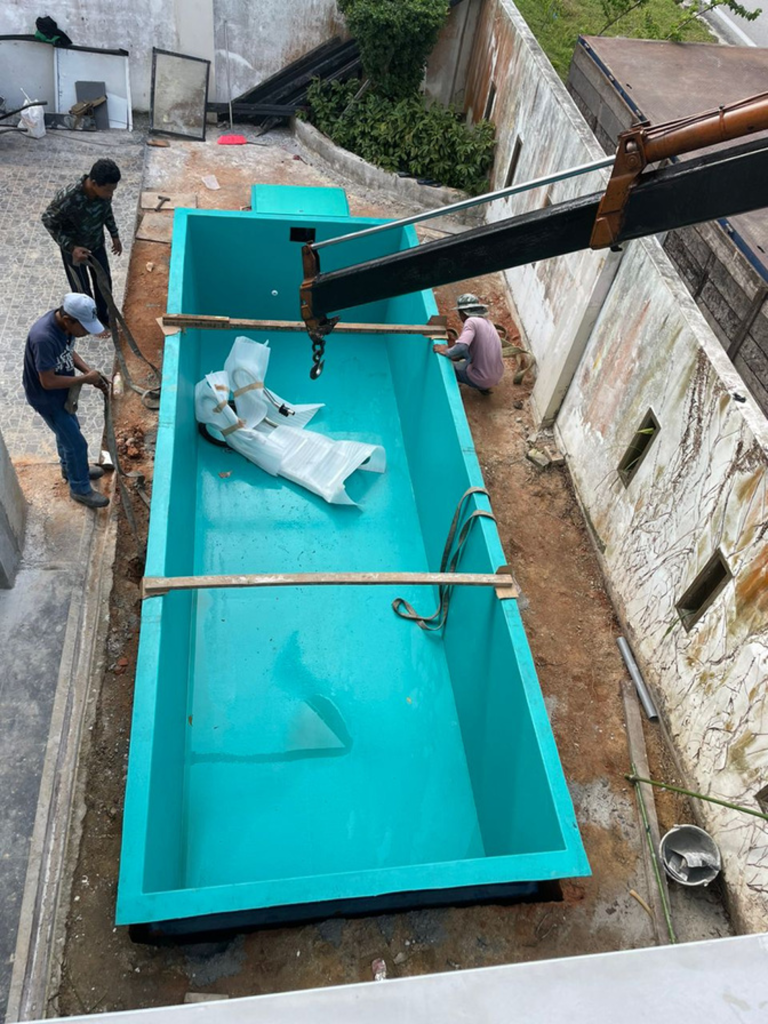
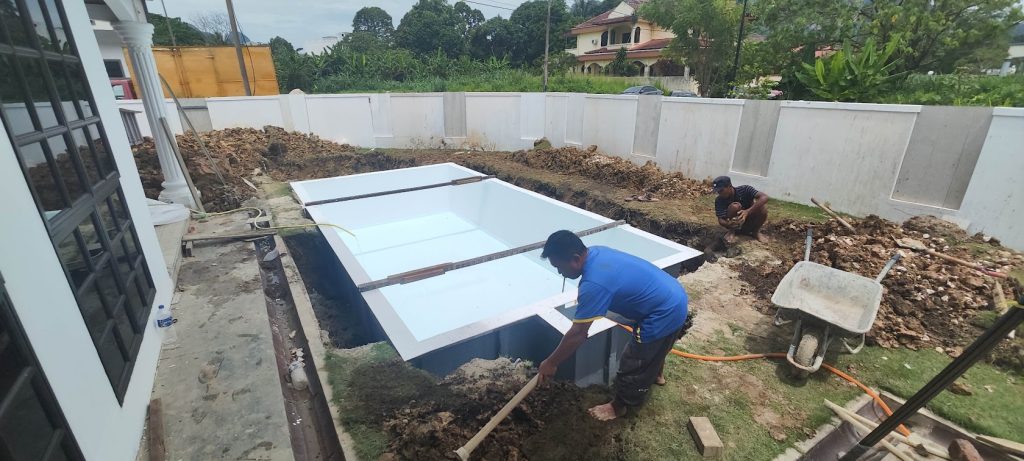
Step 2: Insert Pool
After preparing the base, the fiberglass pool shell is carefully lowered into the excavation using specialized equipment. Precise adjustments ensure the pool is level and perfectly aligned with the prepared foundation. Proper placement at this stage guarantees stability, durability, and a flawless installation.
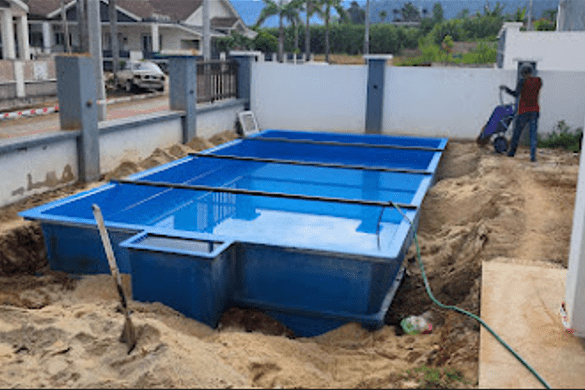
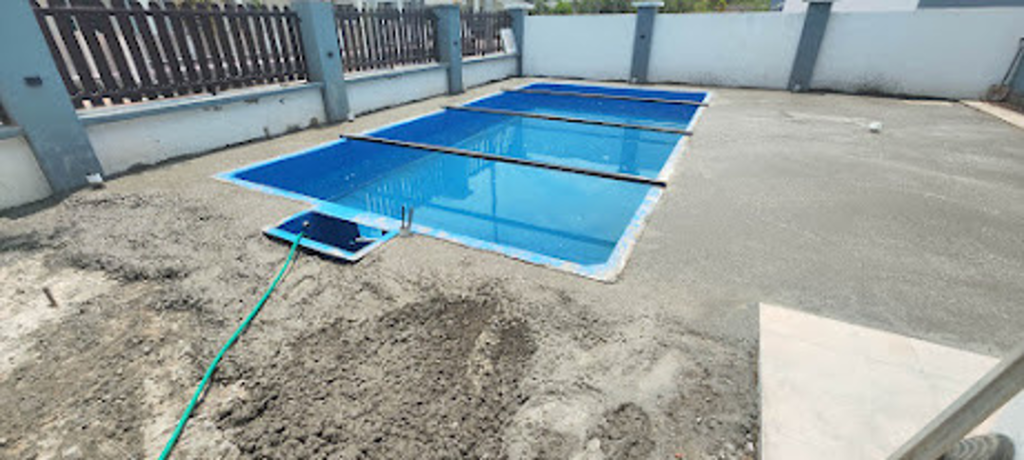
Step 3: Backfill Soil and Fill Water
After positioning the fiberglass pool, soil is carefully backfilled around the shell in layers to ensure stability and prevent shifting. At the same time, water is added to balance the pressure and secure the pool in place. Proper backfilling and water filling are crucial for long-term durability and a flawless installation.
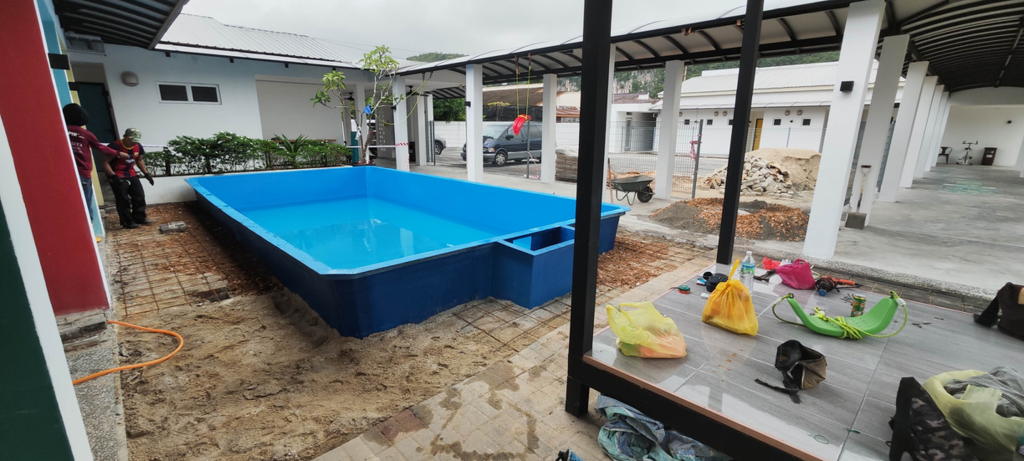
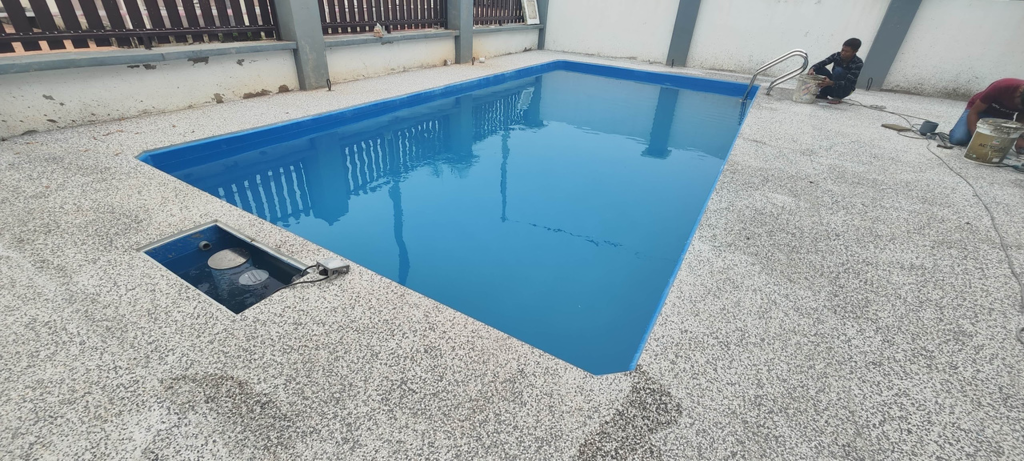
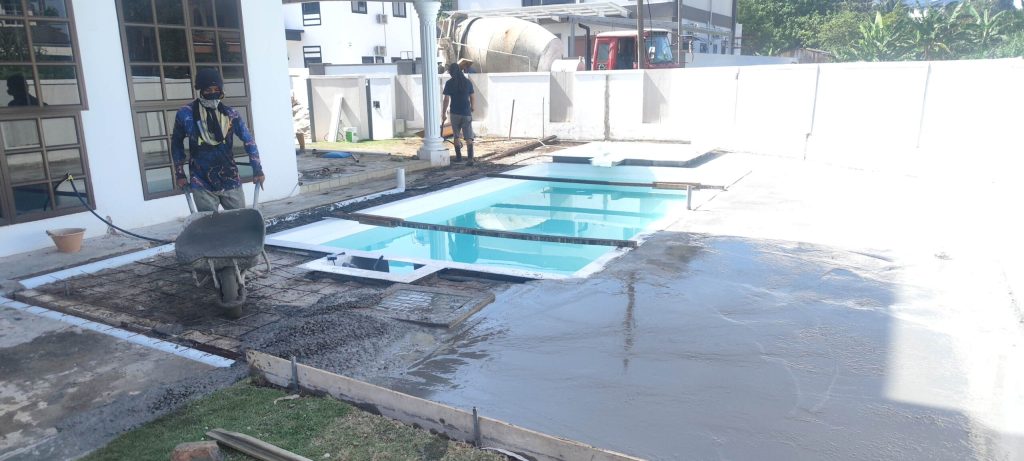
Step 4: Cover Surrounding with Cement and
Finishings
The surrounding area of the fiberglass pool is covered with cement to stabilize the structure and create a strong base for decking or paving. Once set, finishing touches like tiles, coping, or decorative features are added to enhance durability and aesthetic appeal. This final step ensures a secure, stylish, and long-lasting pool installation.